
Hey there, fellow photo enthusiasts! This guide wouldn't be possible without the awesome communities over at @cleverestech and @xiaomi_tr_turkey on Telegram. Seriously, if you find these tips helpful, pop over and join their channels – it's a great way to show some love for their dedication to mobile photography.
Now, let's be real: explaining every single camera setting for every Xiaomi model? We'd be here all day! You could probably ask an AI for a basic rundown, but I'm here to cut through the noise and show you the game-changing adjustments that will take your Xiaomi Leica photography from good to "Wow, did you take that with your phone?!"
Nail the Basics: Essential Xiaomi Camera Settings Tweaks
Before you even think about framing that perfect shot, let's get your camera app prepped for peak performance. These are the non-negotiable settings I always fine-tune:
- Picture Quality to 'Super': First things first, dive into your camera settings and set "Picture Quality" to "Super." Why settle for less when you can have maximum detail? This is a foundational step for crisp, clear images.
- Embrace the 35mm Perspective: If you're serious about honing a professional eye, make 35mm your default focal length. It's a classic for a reason, offering a natural field of view that's incredibly versatile for various photography styles.
- HDR – Your Friend in Tricky Lighting: For beginners or anyone who loves the ease of point-and-shoot, keeping HDR (High Dynamic Range) enabled is a smart move. Yes, it can occasionally tweak colors in unexpected ways, but it's a lifesaver for balancing those bright skies and dark shadows in a single, quick snap.
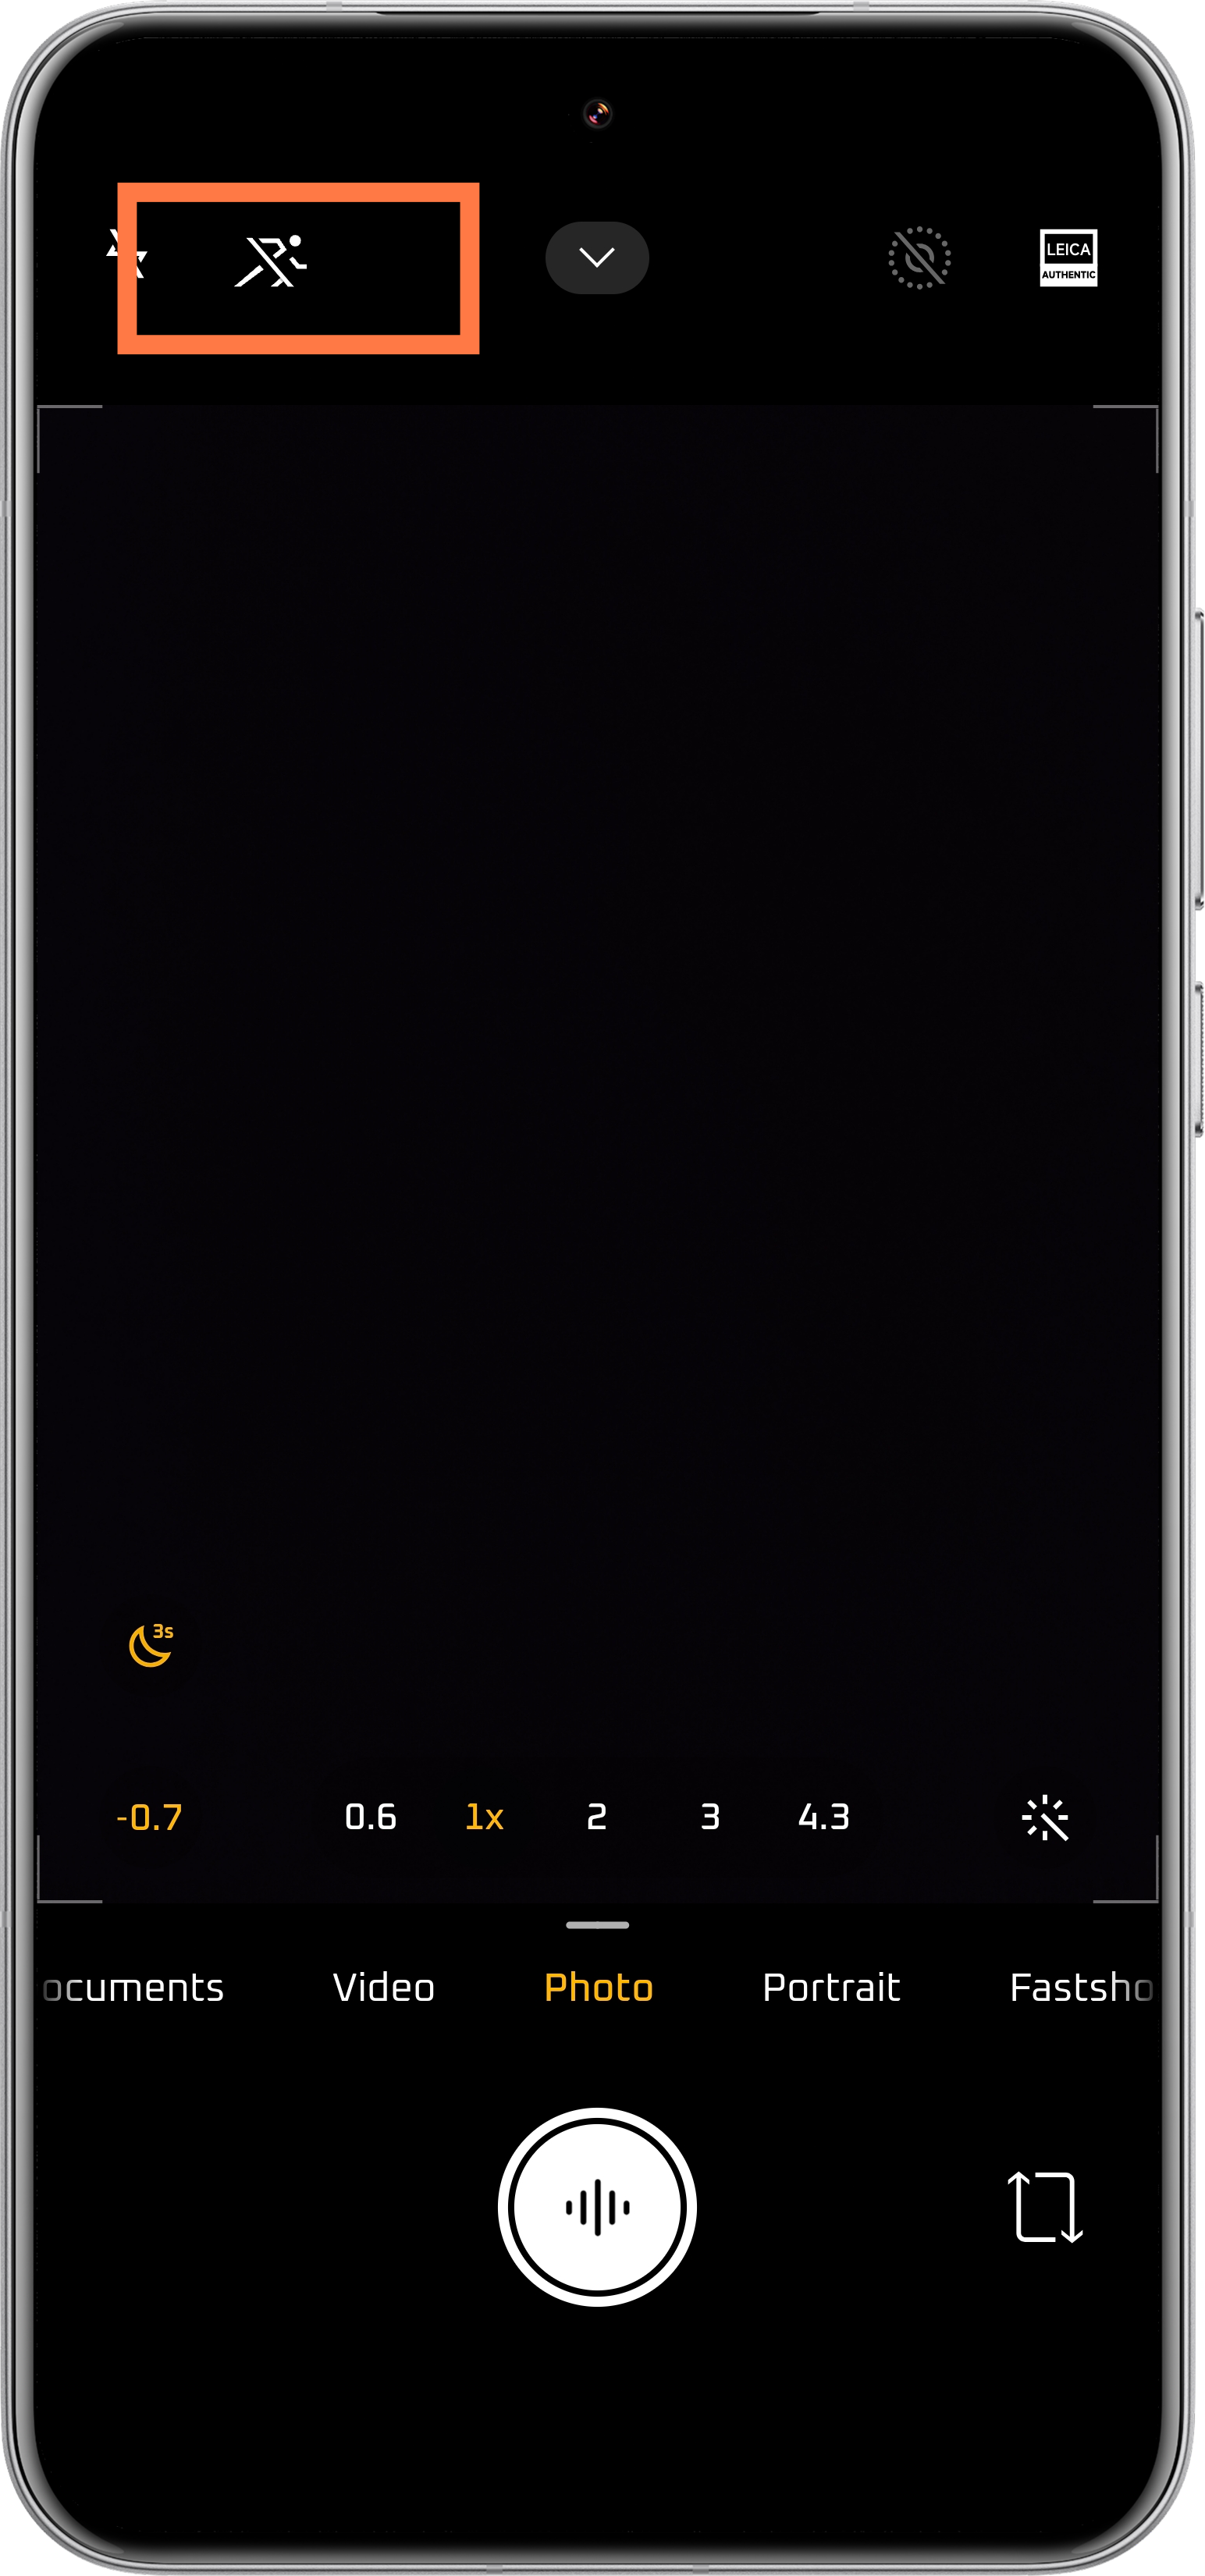
- Motion Capture – Use Wisely: See that "Motion Capture" option (check the image below)? Unless you're specifically trying to freeze a fast-moving subject (like sports or kids playing), it’s generally best to keep this toggled off. For everyday shots, it can sometimes subtly degrade the quality of your still photos.
- Protect Your Lens, Not Smother It: This one's a biggie, folks. Never, ever stick a glass protector directly onto your camera lenses. I can't stress this enough – it's a surefire way to tank your photo quality. I've seen it happen too many times! A good quality case with a raised lip around the camera module, or a screen protector that *doesn't* cover the actual lenses, is the way to go. Personally, I either use the case that came with the phone or opt for one designed with a prominent camera bump for protection.
- Stay Official with Your ROM: As tempting as custom ROMs (like some unofficial EU ROMs) might seem, they can often bring more trouble than they're worth, especially for camera performance. Stick to the official Xiaomi software for the most stable and optimized experience, not just for your camera but for your phone overall.
The Three Pillars of Jaw-Dropping Photography
Want to know the secret sauce to consistently great photos? It's not just about having a fancy Leica lens (though that helps!). It boils down to understanding these three core principles, ranked by their impact on your final image:
- Mastering Composition: The Art of the Scene
- Harnessing Light and Shadow: The Soul of the Photo
- Perfecting Contrast and Color: The Leica Signature
1. Mastering Composition: More Than Just Pointing and Shooting
You could have the most advanced camera on the planet, but if your composition is weak, your photos will fall flat. Learning fundamental composition rules like the Golden Ratio and the ever-popular Rule of Thirds will instantly elevate your images. While the ideal composition can vary wildly depending on what you're shooting (the Leica training linked at the end of this article is fantastic for a deeper dive), let's cover the essentials. Don't forget to enable Gridlines in your camera app – it's an invaluable visual aid for lining things up perfectly.

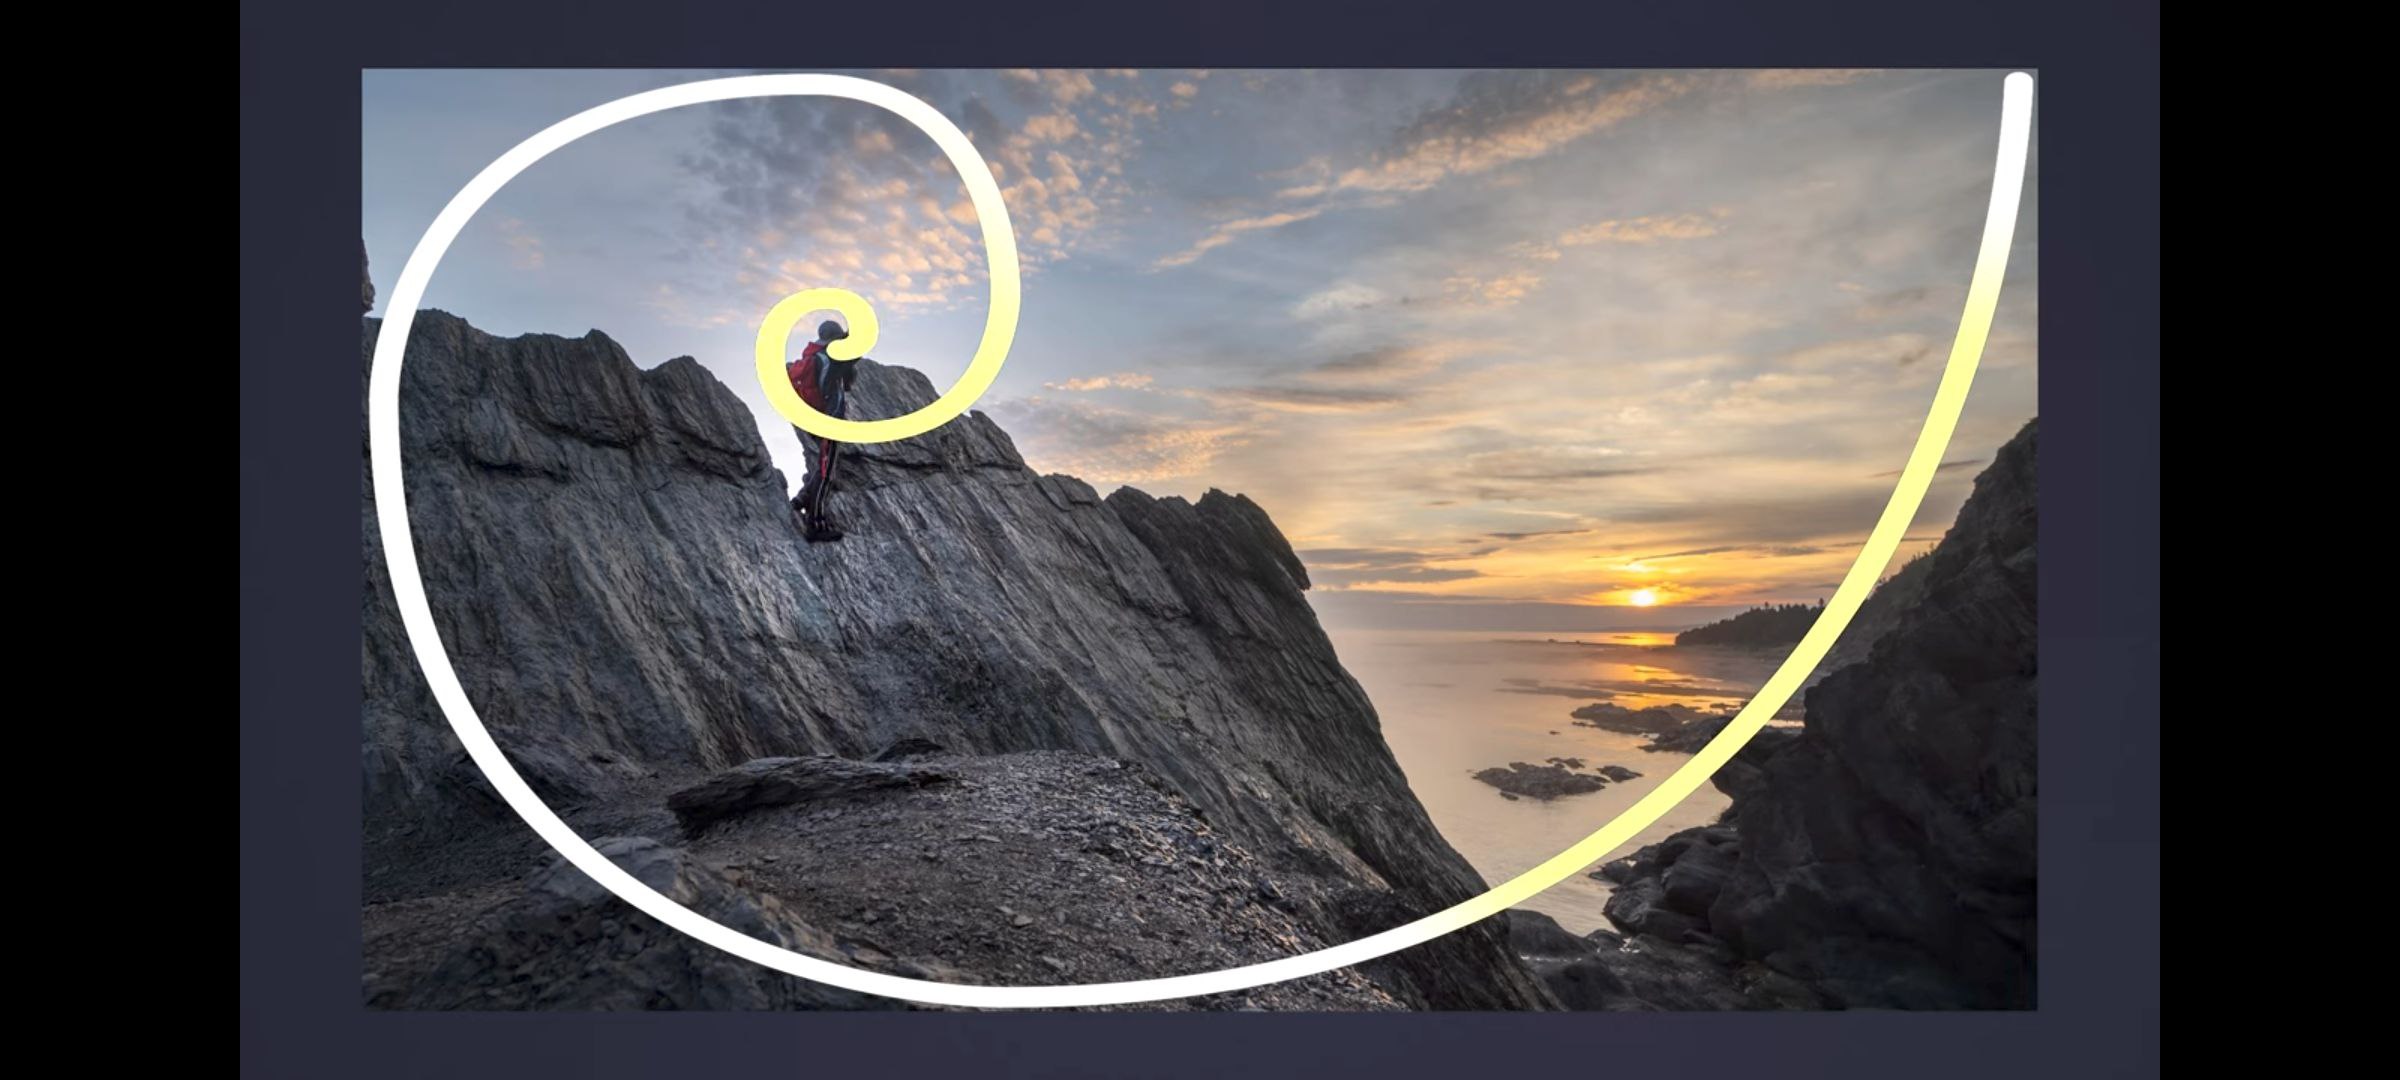

Quick Guide to Subject Placement (using the 3x3 grid):
Where should your main subject go? Prioritize these: Intersections (Points) are most impactful, followed by Along the Lines, and then consider the Spaces Between Lines.
2. Harnessing Light and Shadow: Sculpt with Light
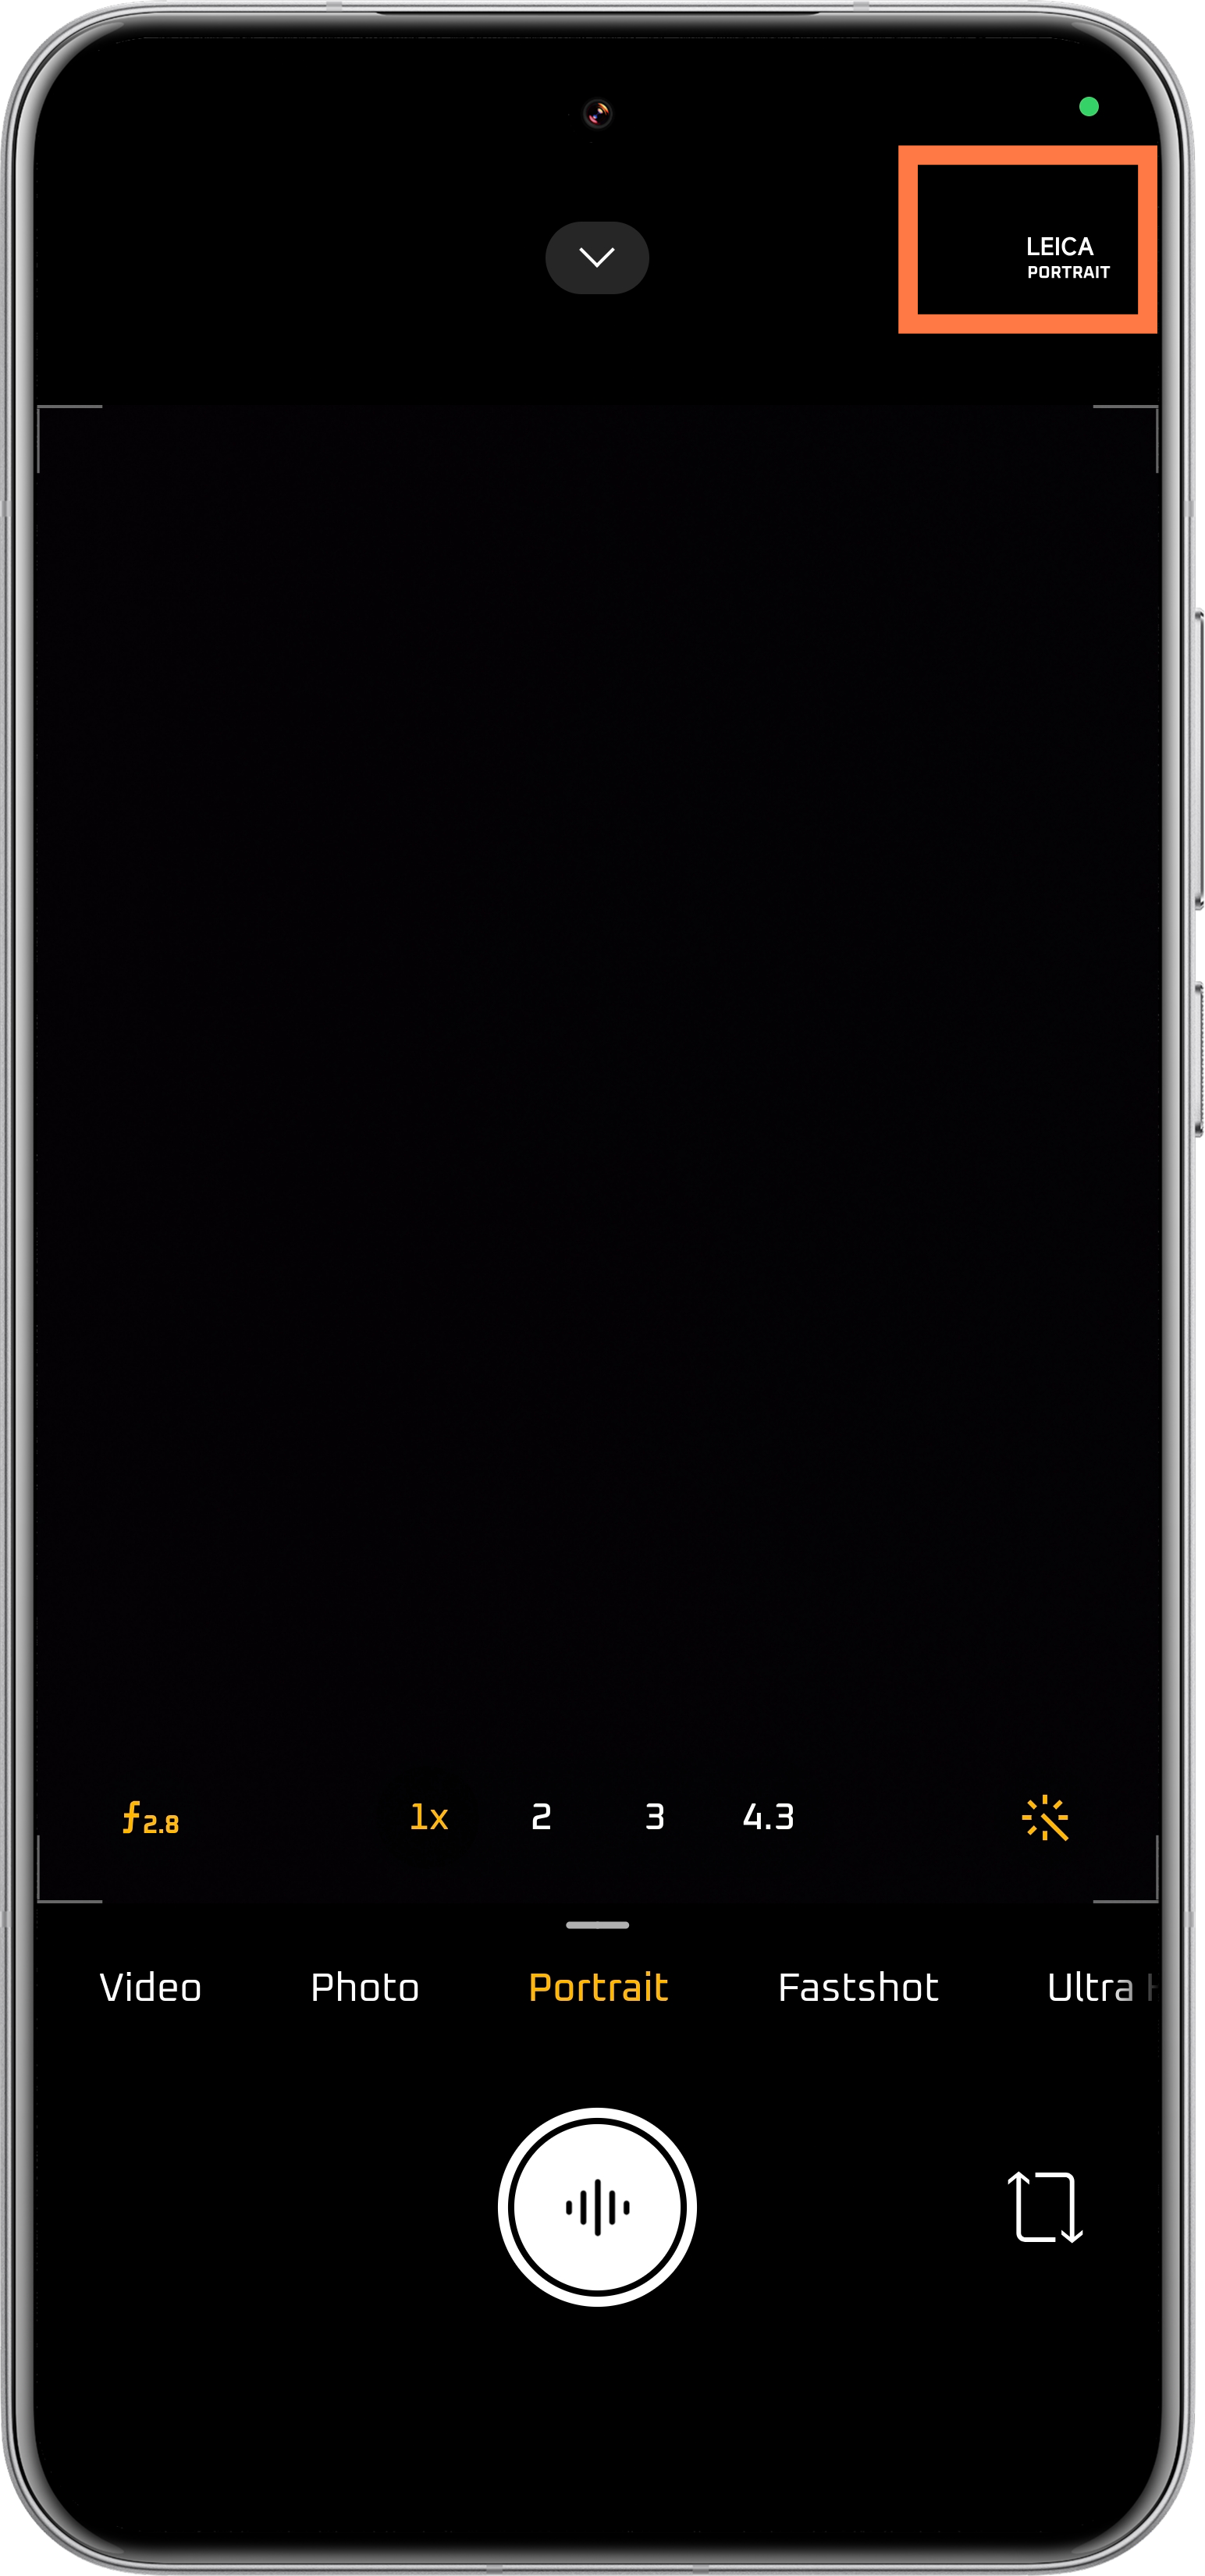
This might sound artsy, but it's surprisingly straightforward. Every scene is a dance of light and shadow, shaped by your angle and the environment. Xiaomi's camera software often defaults to a brighter exposure to ensure nothing is lost in the dark. Smart photographers take control. The easiest way? Manually tweak the EV (Exposure Value) compensation. You'll usually find a slider for this (see image).
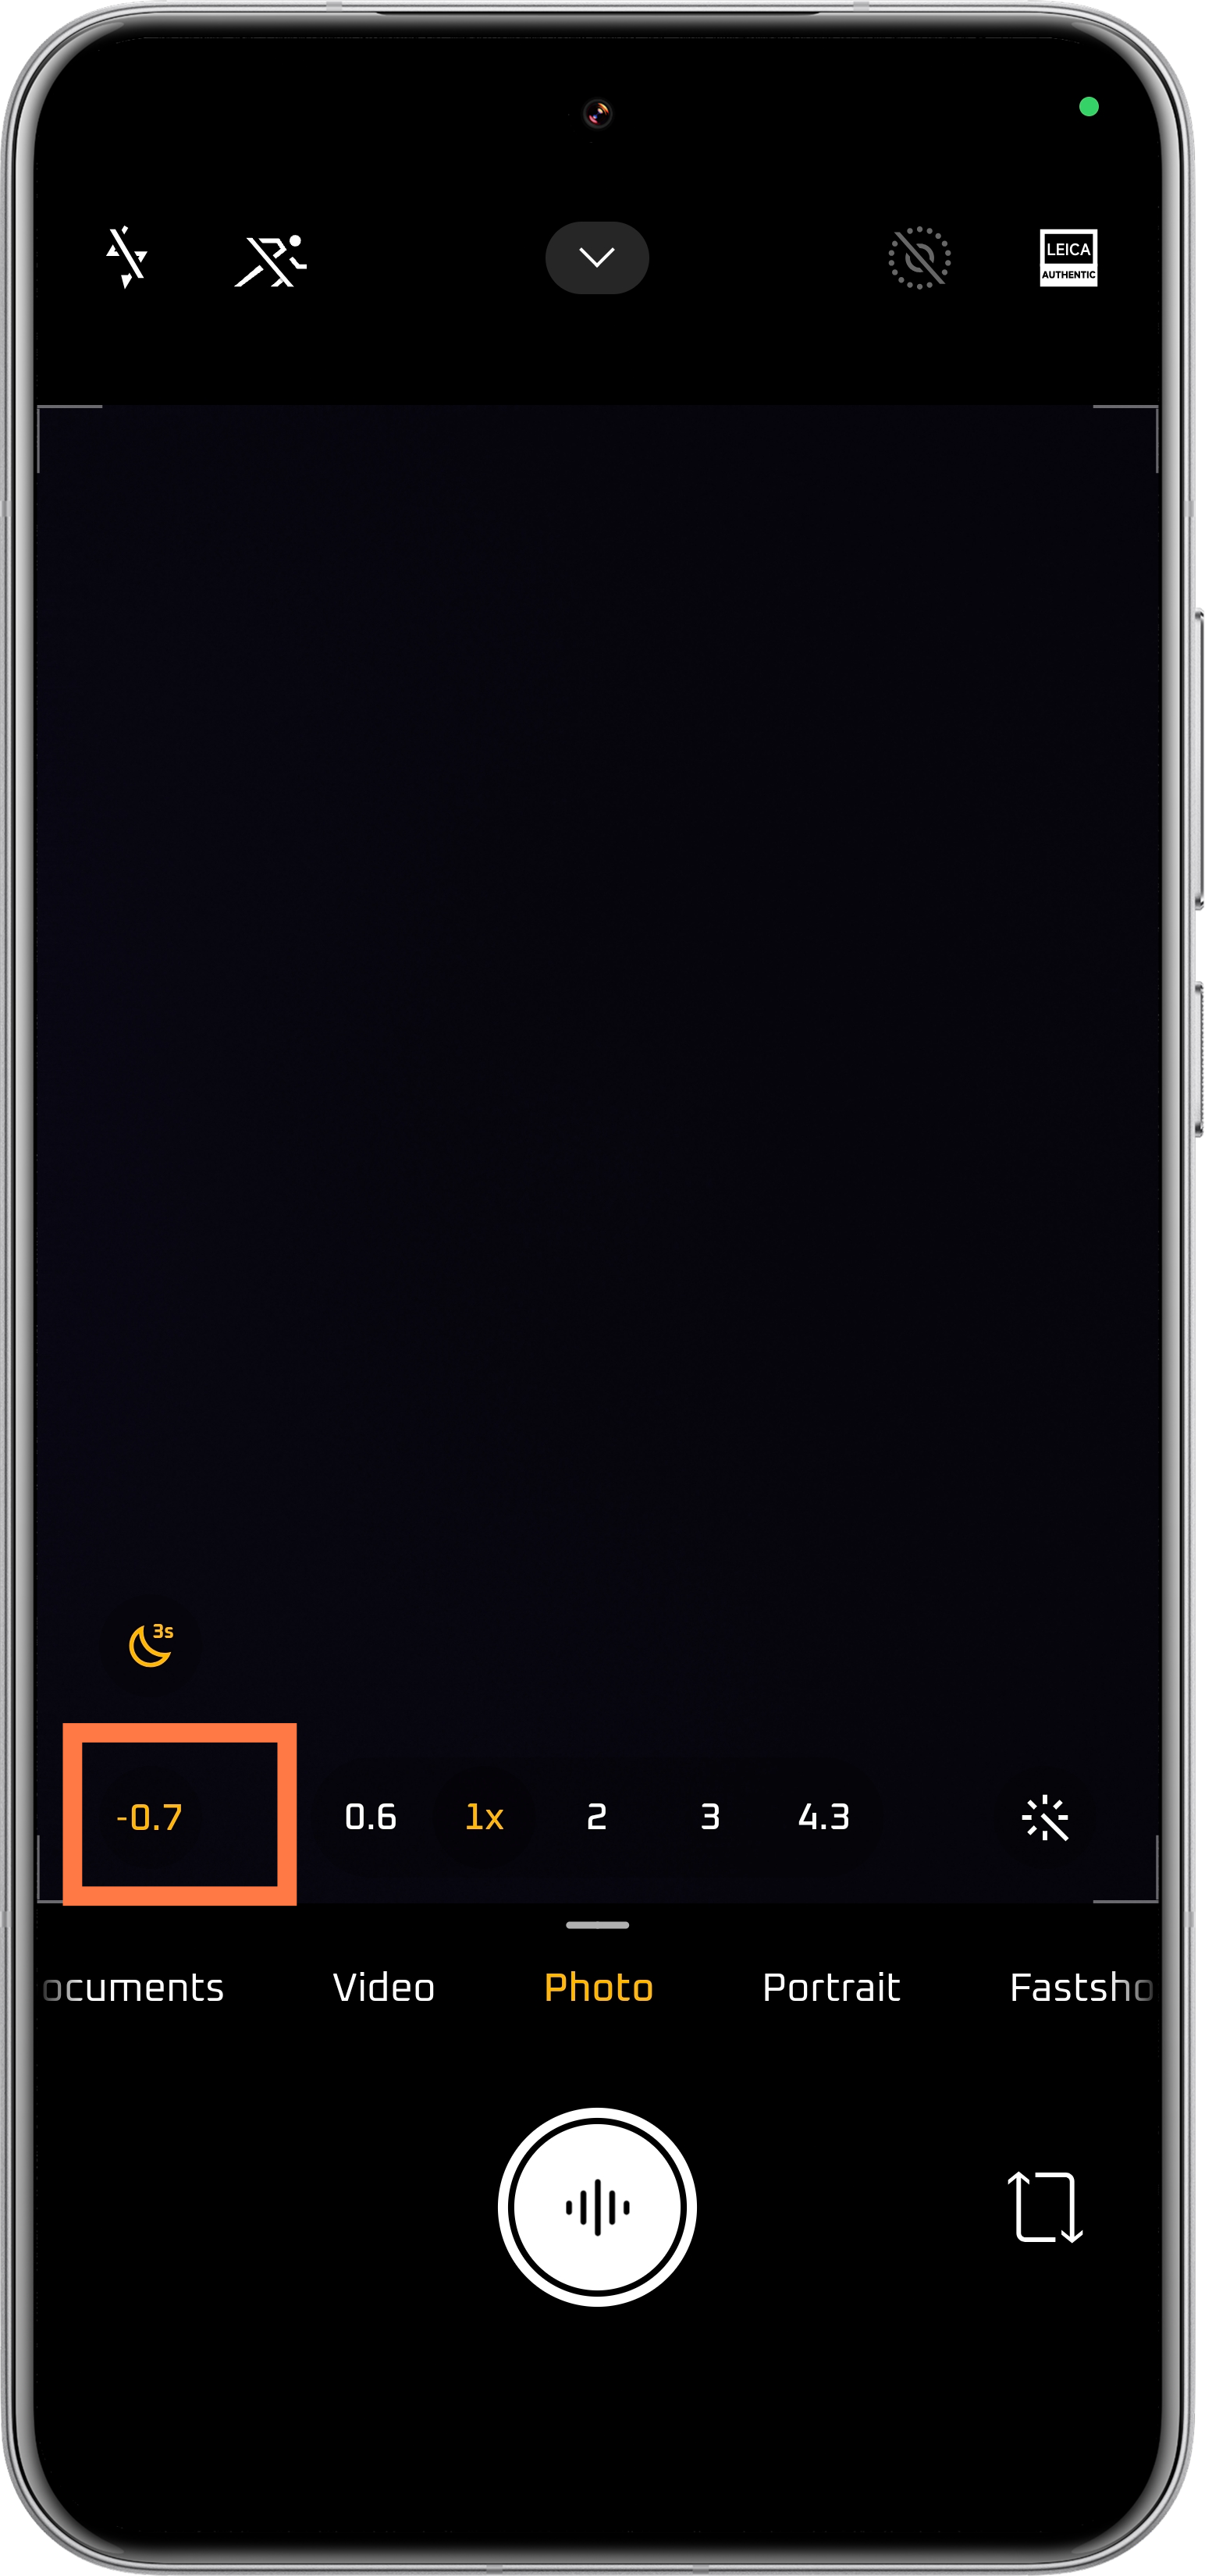
As a rule of thumb, for portraits of people with lighter skin tones, a slight bump to +0.3 EV can be flattering. However, for most landscapes and general scenes, I often find myself dialing it down to around -0.7 EV to preserve highlights and add depth. Just a heads-up: aggressive EV adjustments can sometimes throw off the processing in dedicated Night Mode, so experiment!
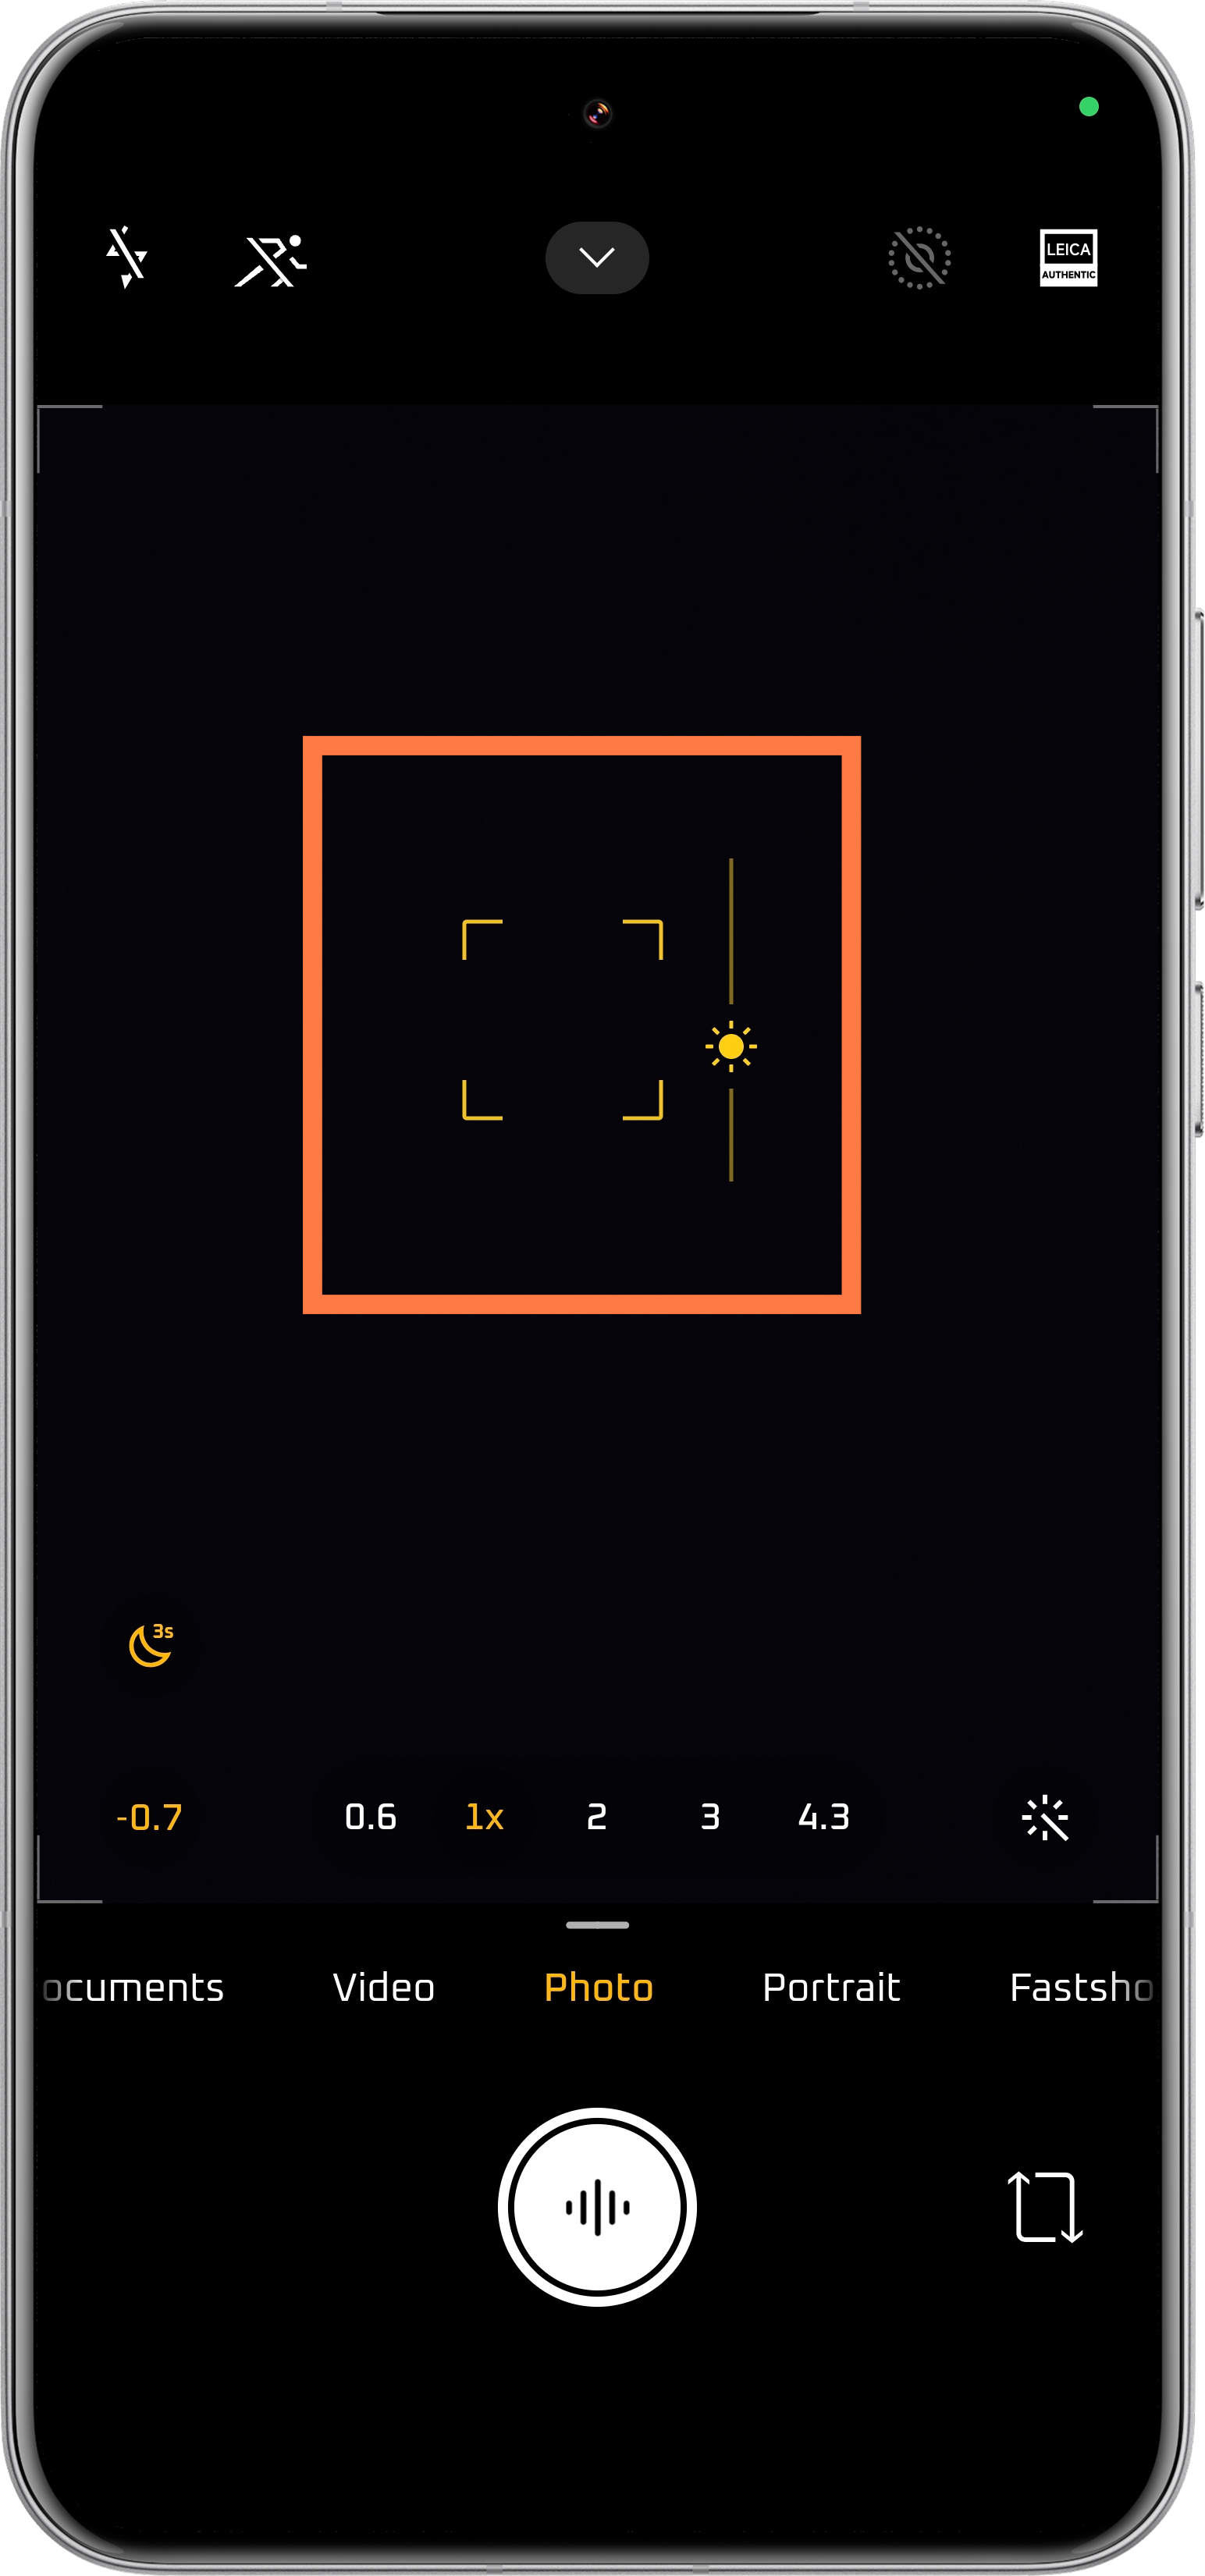
Don't see an EV slider? (Common on older phones or sometimes hidden in Portrait mode). No sweat. A classic trick is to tap on your screen where you want to focus, then gently drag your finger downwards to reduce exposure or upwards to increase it. It’s quick, intuitive, and gives you immediate visual feedback.
"Oops! My photo's blown out (or too dark)!"
It happens to the best of us. You get home, look at your shots, and realize the exposure just isn't right. Here are two ways to rescue your images:
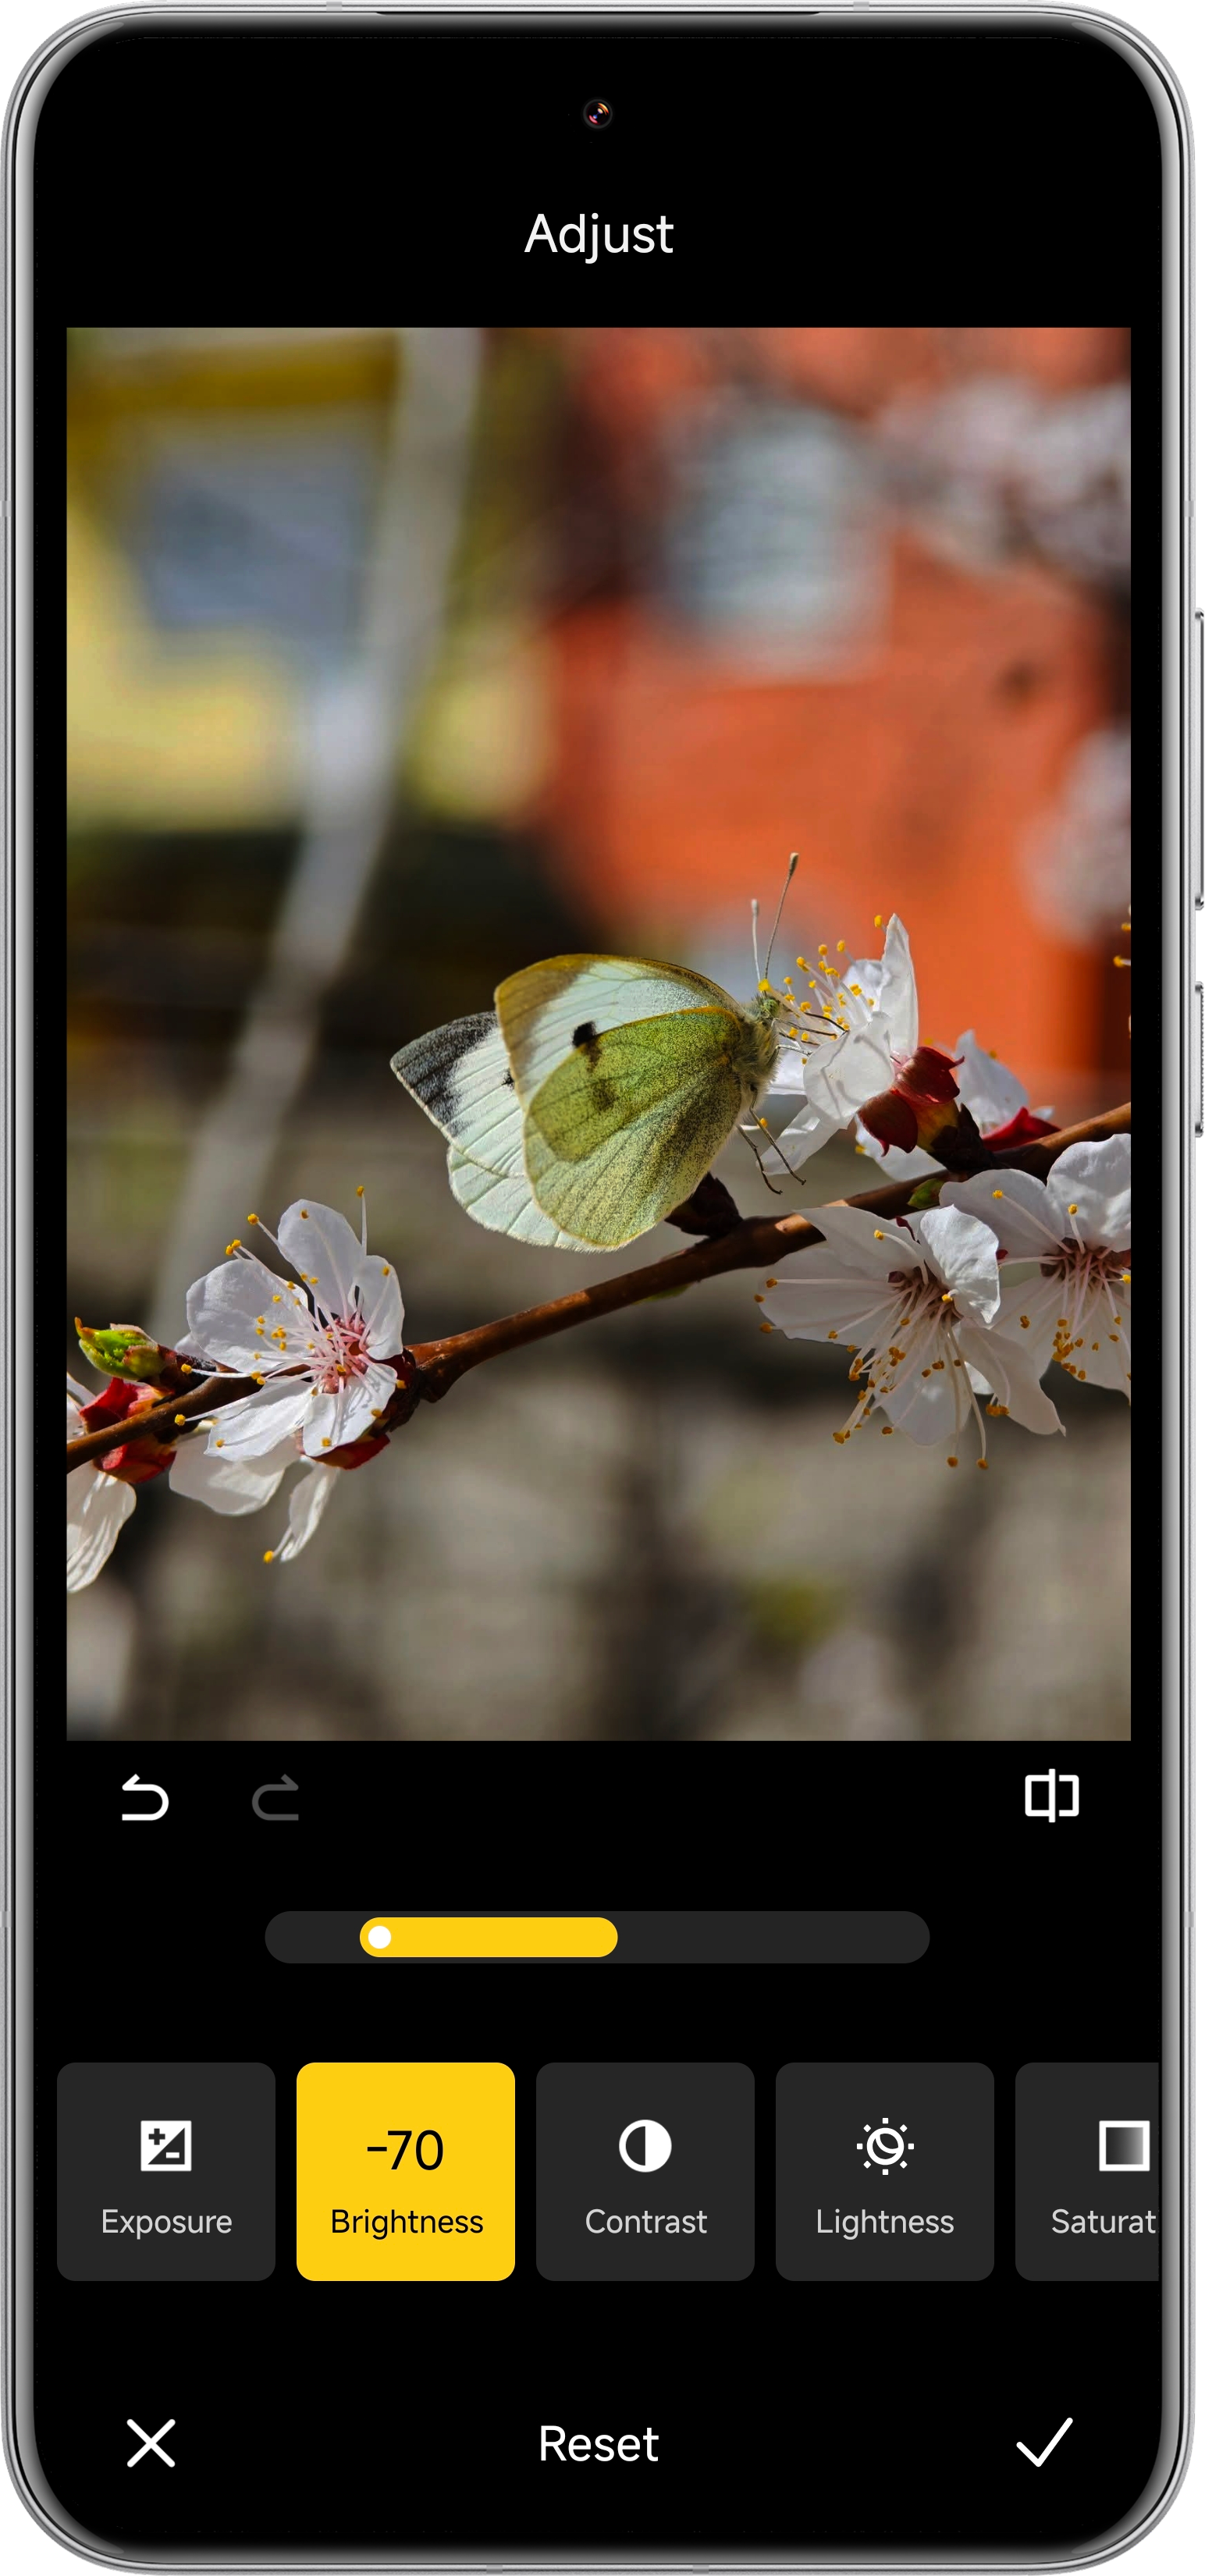
a) The Quick Fix: Your Phone's Gallery Editor
Don't underestimate the power of your built-in gallery app! It's often the simplest and fastest way to make corrections. You can easily adjust brightness, contrast, shadows, and highlights. For now, let's just focus on a quick brightness tweak.
b) The Pro's Secret Weapon: Shoot in UltraRAW
For those truly challenging lighting situations – think dramatic sunsets, high-contrast cityscapes – even the smartest AI can struggle. This is where UltraRAW shines. Shooting in UltraRAW captures a massive amount of image data. Why does this matter? It gives you incredible latitude when editing in software like Adobe Photoshop (for the ultimate control) or even your phone's gallery editor. You can push and pull highlights and shadows much further without the image falling apart. The only minor downside is a slightly slower capture time. My advice? For tricky outdoor light, shoot UltraRAW at -0.3 to -0.7 EV. You'll thank me later!
3. Perfecting Contrast and Color: The Iconic Leica Look
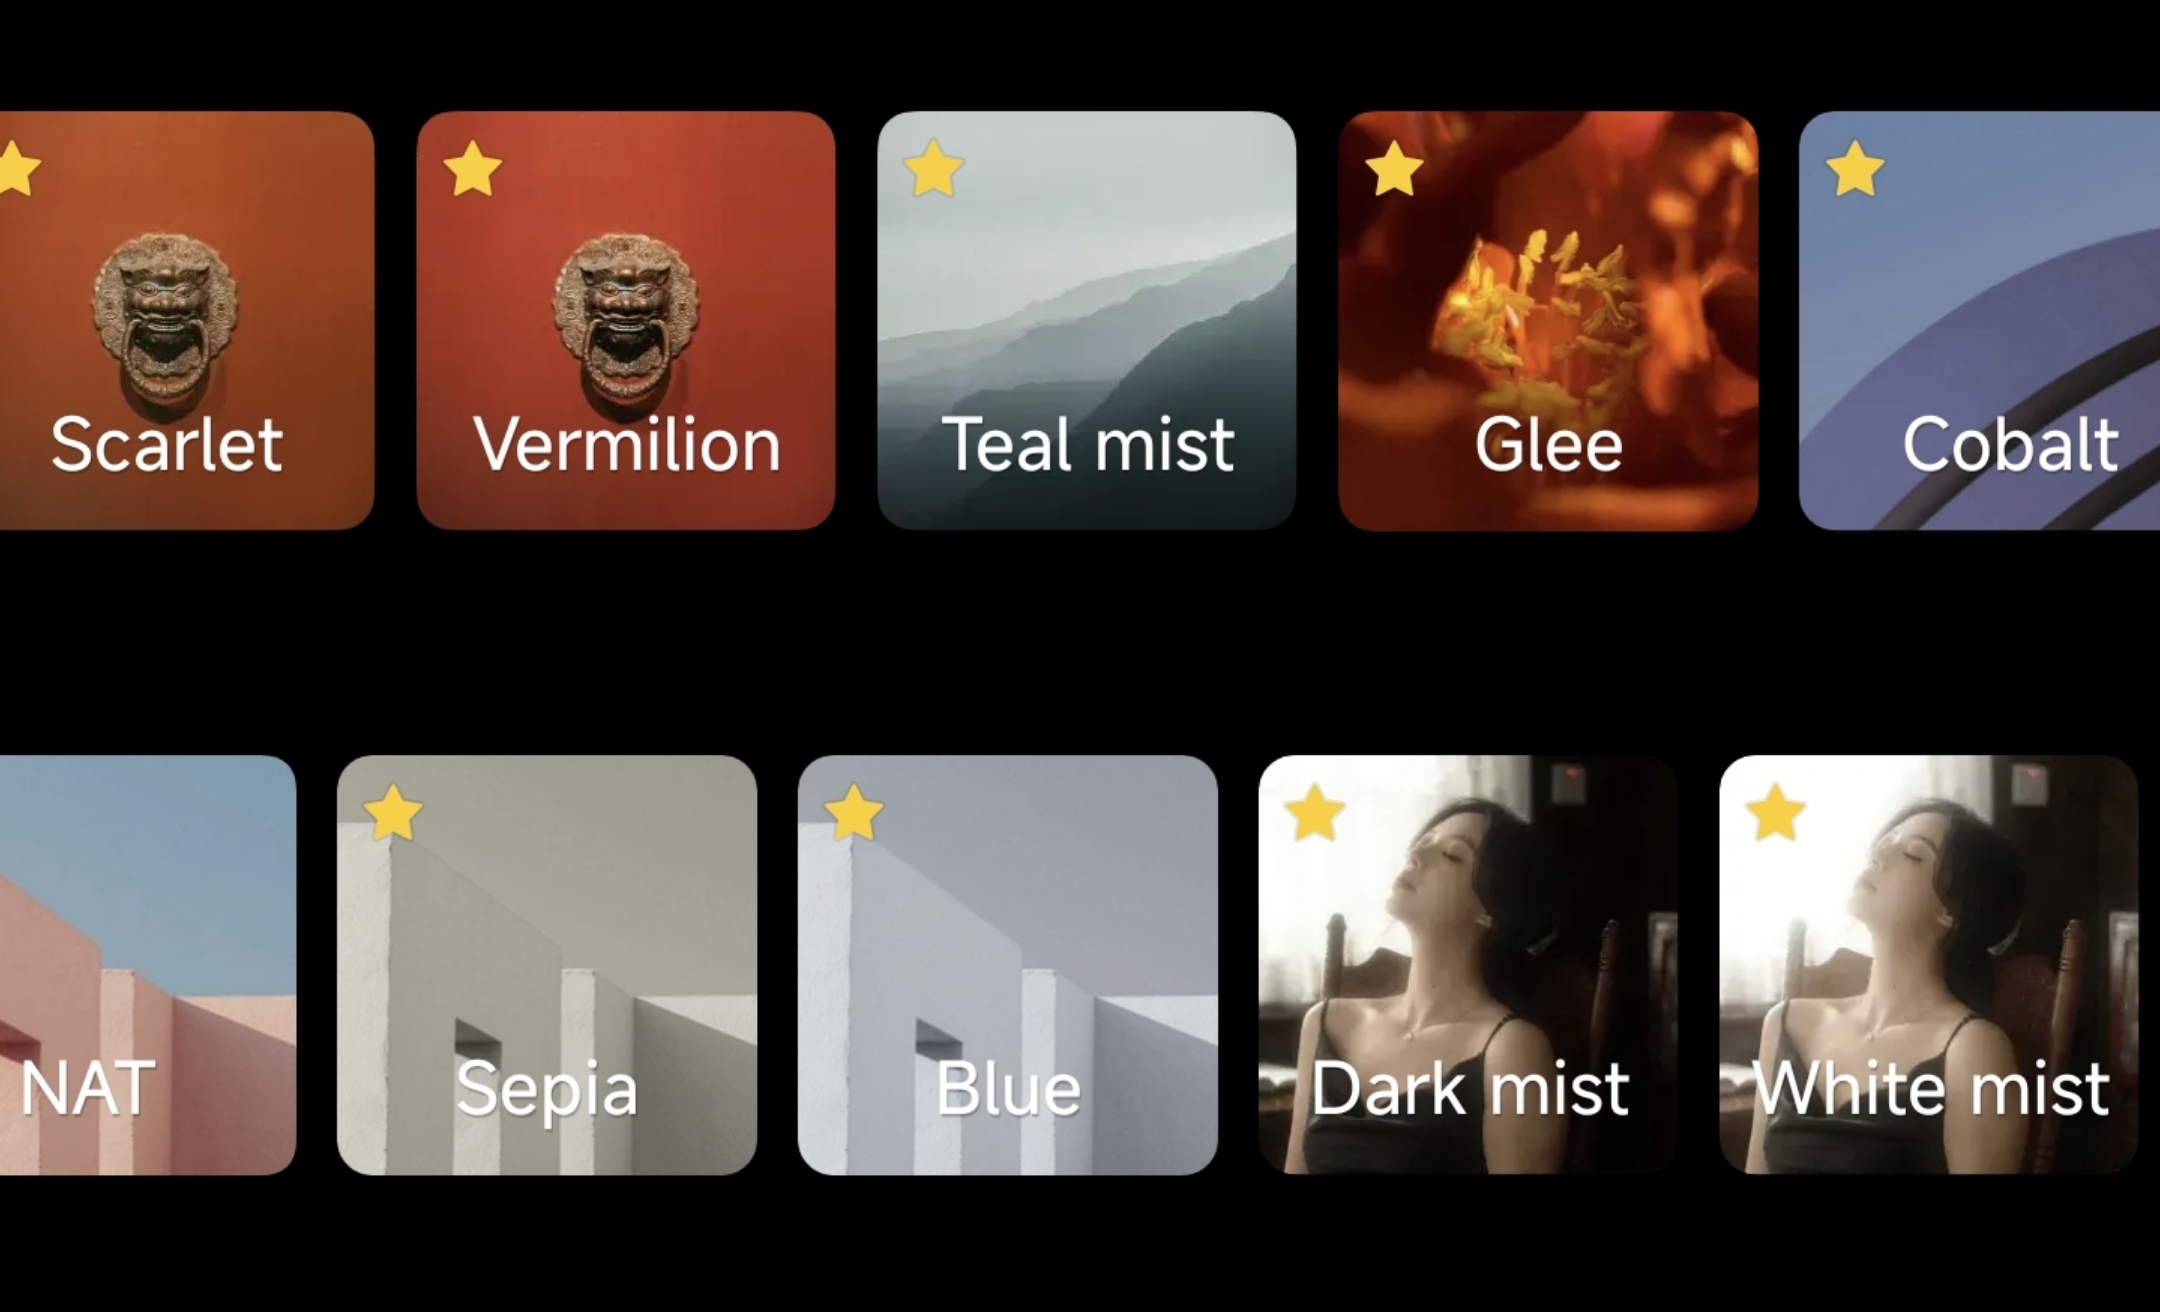
This is where your artistic vision really comes into play, but there are some foundational styles built into your Xiaomi Leica phone that offer a fantastic starting point. Without even touching Pro mode, you have two distinct Leica color profiles: Leica Vibrant and Leica Authentic.
My personal go-to for most situations (except maybe food, where Vibrant can make dishes look extra delicious) is Leica Authentic. It delivers that classic, rich contrast and true-to-life color that Leica is renowned for – think "German engineering" for your photos. Leica Vibrant, on the other hand, gives colors an extra punch and can be very appealing, particularly to those who love a more saturated look. Interestingly, "Leica Portrait" mode is essentially a fine-tuned version of Authentic, optimized for skin tones. A quick note for users of slightly older models: the "Master Portrait" mode (which leans towards Vibrant) could sometimes render skin tones a bit too pinkish.
And that brings us to the exciting, and sometimes intimidating, world of Pro mode settings.
Sure, you can find a million YouTube videos explaining the technicalities of shutter speed, ISO, and white balance in Pro mode. But honestly, for most everyday photos, Xiaomi's auto settings do a fantastic job, and fiddling too much can actually upset the sensor's delicate balance. However, Xiaomi has baked in some powerful custom parameters within Pro mode that are worth getting to know. I also want to give a nod to Neptune, a user on the Xiaomi China forums who shares some incredible Pro mode presets. I'll share a taste of his settings for the Xiaomi 15 Ultra (you'll need to adapt for other models), plus a few of my personal favorite filter effects for those who want great results without a deep dive into manual controls.
The image below shows some of these custom Pro mode parameters (often labeled Tone, Sharpness, Saturation, Contrast). If the interface is in Chinese, Google Lens can be your friend for a quick translation. The best way to learn is to experiment with these sliders and see how they affect your image!
For those with a Xiaomi 15 Ultra (or as a starting point for others), here are some Pro Mode preset concepts inspired by Neptune's work (you can adapt them): Download Example Xiaomi 15 Ultra Pro Mode Presets (ZIP).
And here are a couple of my go-to filter/effect styles. I apply them at varying intensities (sometimes 100%, sometimes dialed back to 50% or less) depending on the photo's needs:
Fastshot Mode: Freeze Those Fleeting Moments
I know I said to research settings, but Fastshot Mode on Leica-equipped Xiaomi phones is too good not to highlight specifically. True to its name, it dramatically reduces shutter lag, letting you capture those blink-and-you'll-miss-it moments. This is different from Motion Capture or manually setting a fast shutter speed. Fastshot is all about instant capture; shutter speed manipulation is more about *creating* an effect (like freezing action or intentional motion blur).
The magic? You can usually activate Fastshot and snap a photo – even when your screen is off – by simply double-pressing the volume down button. This is an absolute game-changer for street photography, capturing candid expressions, or that perfect, unscripted smile from a child.
Crafting Cinematic Videos with Your Xiaomi
Want that smooth, film-like quality in your videos? Aim for 24fps (frames per second). Some Xiaomi models offer a dedicated "Cinema mode" with this, but shooting at 30fps in Pro video mode can also yield beautiful, nearly-cinematic results. The absolute key to cinematic video, however, is stability. Shakes and jitters are the enemy! A gimbal or tripod is your best friend here, but even just propping your phone on a stable surface will make a huge difference.
Your Go-To Settings for a Cinematic Vibe:
- True Cinematic: 4K resolution at 24fps, with a Shutter Speed of 1/50s.
- Smooth & Close: 4K resolution at 30fps, with a Shutter Speed of 1/60s.
One challenge: shooting truly cinematic video outdoors in bright daylight often requires an ND (Neutral Density) filter. Without one, you'll struggle to maintain those slower shutter speeds (1/50s, 1/60s) without overexposing your footage. This is where photography kits with screw-on or clip-on ND filters become invaluable. For indoor scenes with artificial lighting, you can often get away with adjusting your WB (White Balance) to control exposure and color, no ND filter needed.
Pro Tip: Videos shot at 120fps can be slowed down in an editor (e.g., to 0.5x or 0.25x speed) to create incredibly smooth and dramatic slow-motion sequences.
Level Up Your Social Media Game: Uploading High-Quality Photos
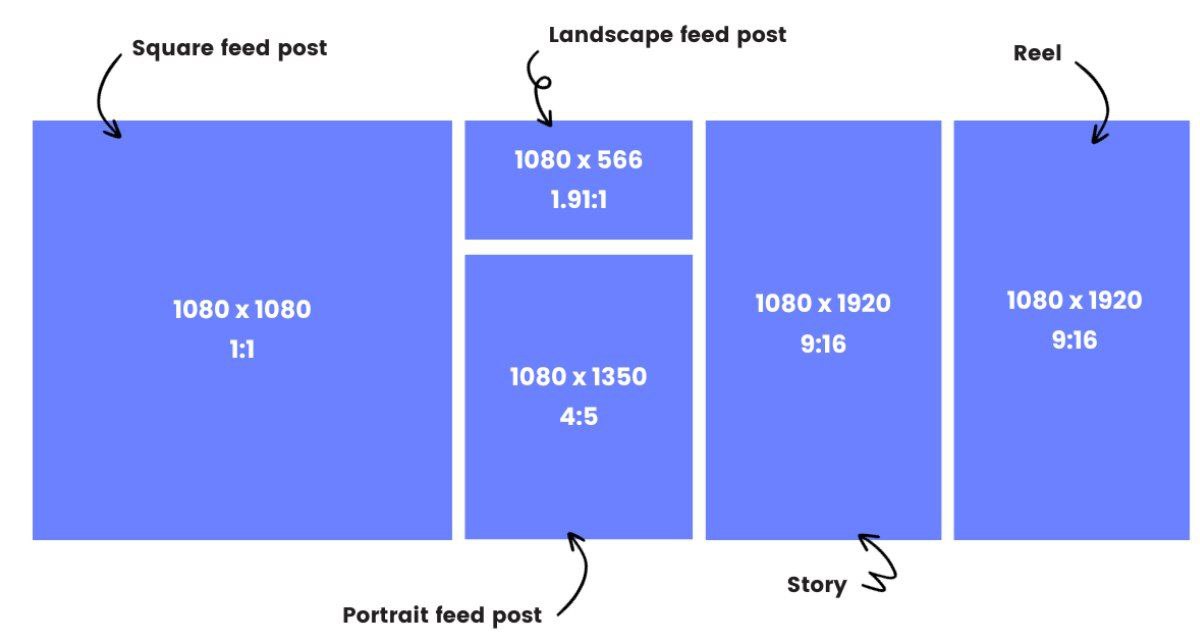
Let's not dive too deep here, but a common frustration is seeing your carefully crafted photos lose quality when uploaded to social media. A big part of the solution lies in understanding optimal aspect ratios for each platform. Resizing your photos to these specific dimensions (or exact multiples) before uploading can make a noticeable difference. Apps like Adobe Photoshop Express often have handy presets for popular social media aspect ratios, taking the guesswork out of it.
For an excellent, detailed guide on maximizing Instagram quality (with credit to Buffer for the original insights), check out this PDF: Ultimate Instagram Photo Quality Guide (PDF)
Sharing Crisp, Clear Videos on Social Media
Videos are a bit trickier due to stricter platform limitations. For instance, Instagram on Android typically caps uploads at 30fps and doesn't play nicely with formats like Dolby Vision or H.265 (HEVC) video codecs when uploaded from Android devices.
The takeaway? It's usually best to either disable these advanced features in your camera settings when shooting for social media (i.e., shoot in the more compatible H.264 codec) or make sure to convert your videos before uploading. Bottom line: for maximum compatibility on social media, avoid shooting in HEVC (H.265) if you plan to upload directly.
My typical workflow: I'll shoot in 4K at 60fps for maximum flexibility, then use an editor like CapCut to downscale to 1080p at 30fps before sharing. Or, if I'm after that buttery-smooth slow-motion, I'll shoot at 4K 120fps and then export from CapCut at 1080p, slowed down to 0.25x or 0.5x speed. CapCut is also great for ensuring your video's aspect ratio is perfectly optimized for whichever platform you're targeting.
My Favorite Mobile Photo and Video Editors
While your phone's built-in editor is great for quick tweaks, sometimes you need more power:
- Hypic (Photo Editor): Packed with features for creative photo editing.
- Capcut (Video Editor): My go-to for mobile video editing – powerful yet intuitive.
Quick tip: If you're running a China ROM on your Xiaomi, the versions of these apps available through GetApps often have even more features unlocked.
Smart Ways to Back Up Your Precious Memories
Don't let a lost or broken phone mean lost photos! If you're comfortable with rooting your device, the Pixelify LSPosed module is a fantastic solution. By setting it to emulate an older Pixel model (like the Pixel XL), you can often leverage Google Photos' original unlimited storage offer for that device, backing up your photos and videos without them counting against your storage quota (or at least at high quality). For non-rooted users, exploring options like ReVanced Manager (which can modify apps like YouTube, potentially integrating with Google Photos backups, though stability can vary) might be considered, but always proceed with caution and understand the risks when using modified applications.
Ready for the Next Level? Dive into Professional Leica Training
If this guide has whetted your appetite, and you're eager to learn even more from the best in the business, I highly recommend checking out the official Leica training videos, created in partnership with Xiaomi:
Xiaomi Master Class Supported by Leica: Official Training Videos
The more you shoot and experiment, the more you'll want to learn. You'll start noticing the nuances of histograms, perhaps even delve into the differences between standard RAW (which might use Qualcomm's Image Signal Processor) and Xiaomi's UltraRAW (which often leverages their proprietary ISP). Photography is a journey of passion and continuous learning. This guide is designed to give you a solid foundation and, hopefully, a fresh perspective on what's possible with the amazing camera in your pocket. Now go out there and capture something incredible!
Leave a Reply
No comments yet. Be the first to share your thoughts!